The best solar charge controllers for RV use must fit both the roof array and the space behind the interior panels. Electrical limits decide whether charging is possible; access, heat, controls and wiring routes decide whether the installation remains practical. These three picks focus on different ways of fitting a controller into a coach.
Map the Roof and Equipment Bay Together
Record the panels already installed, their arrangement and the battery bank they charge. An RV roof often offers limited room for changes, so replacing the controller may not be the only constraint. A controller upgrade should be tied to the array you can actually install, not the largest theoretical system in the product listing.
Then inspect the intended mounting area. Look at heat sources, cable entry, cover removal and the ability to reach connections with the correct tools. A controller that fits the available rectangle can still be awkward to commission or service once the conductors are in place.
These two checks belong together. A proposed series arrangement may change voltage requirements, while a different mounting point may change wiring lengths and service access. Resolve the layout before treating a particular amp class as the answer.
Pick the Interface for the Way You Use the Coach
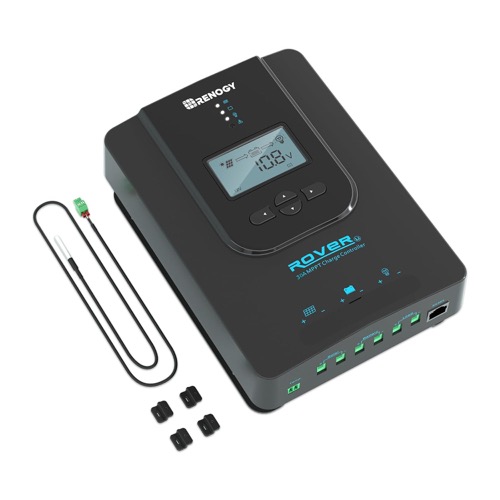
Rover 30A suits a compatible MPPT installation where the controller can sit in an accessible equipment compartment. The priority is a workable charging path with room to install and inspect the unit. Check accessory requirements if phone monitoring is part of the plan.
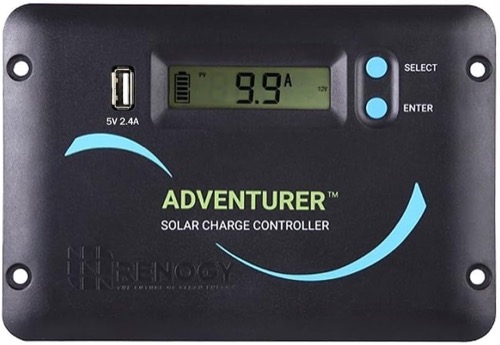
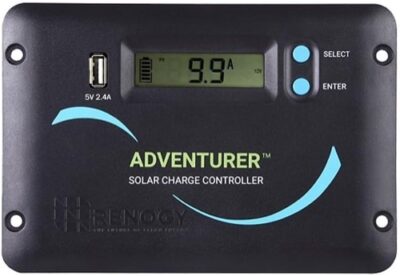
Adventurer 30A serves the owner who wants a visible interior wall interface in a suitable PWM system. Its mounting style can make daily checks convenient, but it requires a realistic plan for the cavity and wiring behind the faceplate.
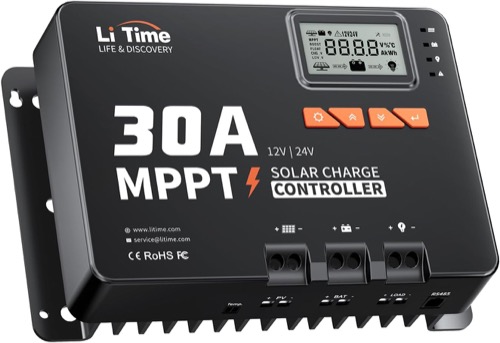
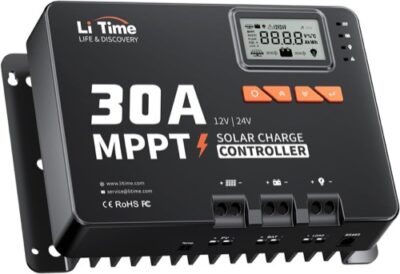
LiTime 30A offers a display-and-phone workflow for a compatible MPPT system. The useful question is whether you can inspect charge behavior conveniently with the controller in its actual location. Neither a local screen nor an app replaces verifying the charging configuration.
| RV layout | Priority | Avoid choosing on… |
|---|---|---|
| Serviceable equipment bay | Cable access, ventilation and usable monitoring | Amp rating alone |
| Interior wall control panel | Flush-mount depth and rear wiring route | Front-panel appearance alone |
| Compartment plus phone checks | Actual communication access and local status | An app logo without checking its workflow |
Treat a Lithium Conversion as More Than a Menu Change
Replacing a lead-acid battery with LiFePO4 can change the permitted settings, charge current and low-temperature requirements. Check whether the exact controller supports the battery’s required configuration. A menu item labeled lithium is not evidence that every relevant temperature or BMS interaction has been addressed.
An RV can also contain more than one charging source. The solar controller should be considered alongside the other equipment that charges the bank. Do not change one set of settings while leaving the combined charge-current and battery requirements unexamined.
The LiFePO4 controller-settings guide organizes those questions. Use the battery and controller manuals to determine the actual values and supported protection arrangement for the installation.
Buy Expansion Capacity Against a Real Roof Plan
Future panels should be identified before extra controller capacity is assigned value. Different panels, mixed orientations and changed series/parallel arrangements can affect the input checks. Total roof wattage alone does not show whether a cold-weather string stays within the controller’s voltage ceiling.
Likewise, more charge-current capacity is useful only when the bank can accept it and the array can supply it. If the proposed expansion cannot fit the roof or demands a different electrical architecture, buying a larger controller today may not avoid another replacement later.
Work through the series-versus-parallel guide with the actual panel data. Treat any preliminary calculation as a planning aid, not approval to alter the roof wiring.
Leave a Practical Route for Maintenance
A touring vehicle exposes equipment to changes in temperature and movement. Follow the mounting instructions and make it possible to inspect the installation without pulling on conductors or dismantling unrelated equipment. Retain access to protective devices and the information needed to isolate the system appropriately.
For an interior display, check whether the controls can be read in normal use rather than only at eye level in a showroom. For an app-led workflow, check access from the places where charging will actually be monitored. Small usability problems can make owners stop checking a system that otherwise works.
Do not repurpose the controller’s load terminals as a general inverter supply. That connection, when present, has its own restrictions. Use the load-terminal guide to understand the distinction before planning loads around a convenient pair of terminals.
Compare Installed Value Rather Than a Camping Label
Include the required accessory modules, mounting work and rewiring in the comparison. A controller with a familiar brand or a larger display is not automatically the better value for the coach. The useful purchase is the one that fits the equipment and makes its operation easier to verify.
These three selections are research-led, using the exact-model evidence and linked reviews rather than first-party RV testing by Solar Power Picks. Owner observations can identify access or configuration issues to investigate; they do not certify a vibration rating or a particular coach installation.
Confirm the seller’s selected model and included hardware before ordering. If the required system falls outside all three candidates, retain the design requirements and widen the product search rather than compromising the installation to fit this page.
- Match the controller to the actual roof array.
- Check the intended battery chemistry and all charging sources.
- Mock up access to controls, covers and conductors.
- Price the complete installed arrangement, including accessories.