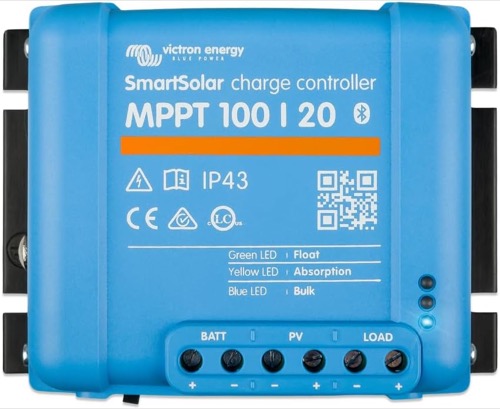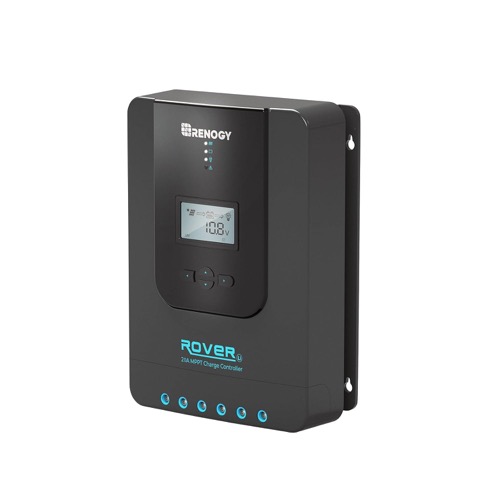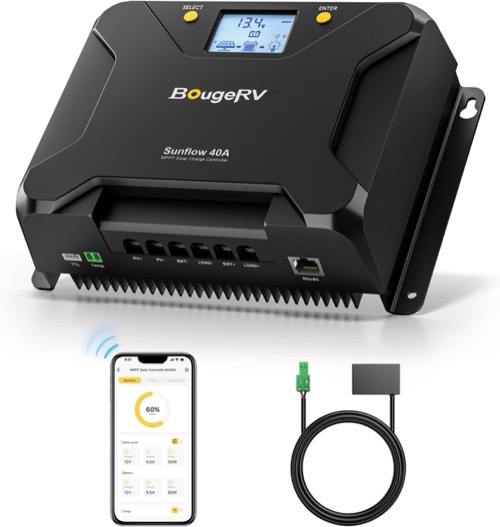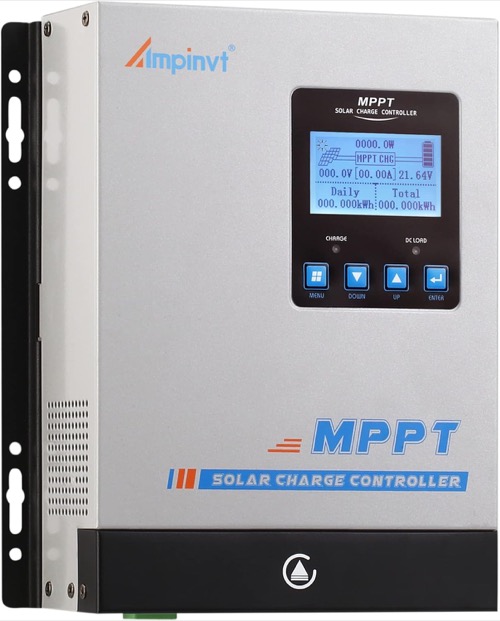
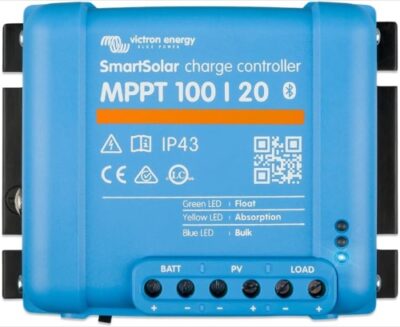
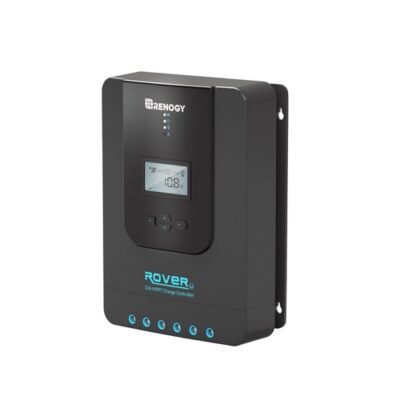
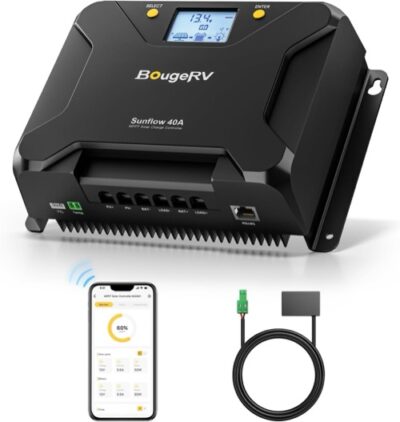
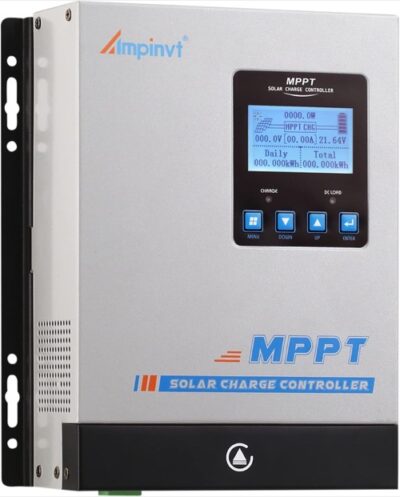
The best MPPT solar charge controllers combine an appropriate solar-input window with the charging current and controls the system needs. MPPT is not a guarantee of compatibility. These four candidates cover compact app-led charging, a small local-screen installation, integrated monitoring and a conditional higher-current system.
Separate Tracking Capability From Electrical Fit
MPPT allows a controller to operate the panel at a useful point while converting power to the battery’s charging conditions. That benefit matters when the array’s operating voltage differs meaningfully from the battery voltage. It does not allow the controller to accept arbitrary panel voltage, current or power.
Treat the controller’s input window as a prerequisite, not as a performance score. A product with attractive tracking claims can still be wrong for a short string that cannot start charging in the planned system, or for a long string whose cold open-circuit voltage exceeds the permitted ceiling.
The voltage and amperage guide explains why the panel-side and battery-side numbers differ. Keeping those two sides separate is more useful than choosing the largest percentage printed in an efficiency claim.
Choose Between Compact, Integrated and Capacity-Led Designs
For a compact installation, compare the SmartSolar 100/20 with the Rover 20A. The practical distinction is the operating workflow as well as the electrical envelope: an app-first controller versus a model with local controls. Check the exact bank-voltage support rather than assuming the two 20A products are interchangeable.
The Sunflow 40A adds a different proposition: a defined 12V/24V role with integrated monitoring. Match the Sunflow name and reviewed identity carefully. Another controller sold by the same brand with the same charge-current label can have a different solar-input envelope.
The AMPINVT APC190060 is the conditional capacity-led option. It makes sense only when the system can use the larger output and the owner can accommodate its cooling, configuration and service requirements. Extra current is not a reason to overlook those costs on a small array.
| Buying priority | Useful comparison | The question that decides it |
|---|---|---|
| Compact installation | App-first versus local-screen operation | Can you access the information where the unit will be mounted? |
| Integrated monitoring | Included communication versus accessory modules | Does the delivered revision include the required hardware? |
| Higher current | Battery acceptance, cooling and accessibility | Will the array and battery use the added capacity? |
Plan for Both the Coldest Voltage and the Working Voltage
Use panel open-circuit voltage and the applicable temperature information to evaluate the cold-weather ceiling. Normal operating voltage is not an adequate substitute. Adding series panels raises the string voltage, while adding parallel strings changes the current presented to the controller.
At the other end of the window, the controller needs enough panel voltage to operate as designed relative to the battery. This becomes especially important when changing bank voltage or selecting a small array. Follow the exact start and operating requirements rather than importing a rule from a different MPPT model.
The shared specifications below make those boundaries visible where they are documented. A missing value stays an evidence limitation. Do not estimate an unpublished input-current ceiling by reading the model’s battery-side amp rating.
Account for the Battery Voltage Before Planning Expansion
A controller’s usable array-power allowance can vary with battery-bank voltage. That is why a high wattage in a product title needs context. Check the row for your actual bank, then consider whether an intended battery upgrade would require different configuration or a different controller.
An output-current estimate is useful for comparing size classes, but it is not a complete expansion plan. Battery acceptance, input current and cold string voltage remain separate constraints. If the controller maker permits excess panel nameplate power, its conditions still apply.
Read the controller oversizing guide before adding panels. Do not assume that a controller will safely discard any excess simply because another model is designed to limit output under a particular set of conditions.
Evaluate Heat, History and Troubleshooting Access
Cooling arrangements affect where a controller belongs. A fan-cooled unit needs a suitable environment and access for inspection; a passively cooled model still needs the clearances and temperature conditions in its manual. Neither design should be crowded into a sealed space solely to hide the wiring.
Monitoring is valuable when it helps answer practical questions. Can you see whether charging stopped, identify a relevant fault and distinguish a full battery from a solar-input problem? Consider the usefulness of available history rather than counting app screens.
The linked reviews discuss operating and ownership tradeoffs without turning sampled complaints into a failure percentage. Use those reports to plan checks for the delivered unit, not to assume that every unit of a model will behave identically.
Use a Short Acceptance List Before Placing the Order
The final buying check should connect the candidate back to the equipment schedule. Record the exact panel arrangement, battery limits, mounting location and required accessories. That record helps expose a missing assumption while the purchase can still be changed.
This shortlist is based on manufacturer documentation and the research supporting the individual reviews; it does not claim first-party testing. Product revisions, bundled modules and seller availability can change. Confirm that the chosen listing and manual describe the same delivered controller.
If none of the four fits, choose a different documented controller rather than stretching an input limit to keep a familiar name. The sizing process remains the starting point when the system falls outside this shortlist.
- Confirm the exact MPPT model, not only the brand and amp label.
- Check starting conditions as well as maximum PV voltage.
- Match the PV-power allowance to the actual battery voltage.
- Include sensing, monitoring and cooling needs in the installation plan.