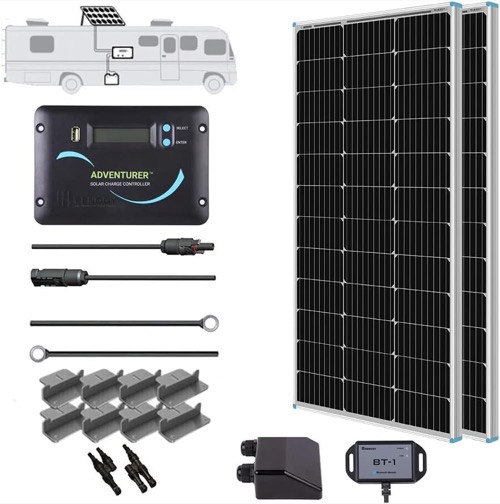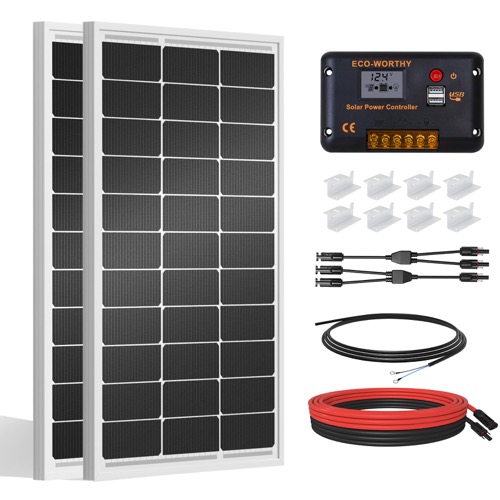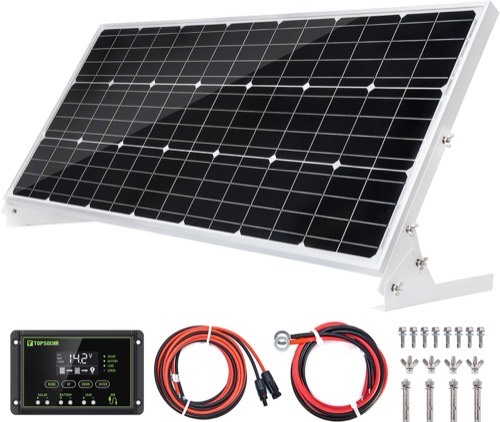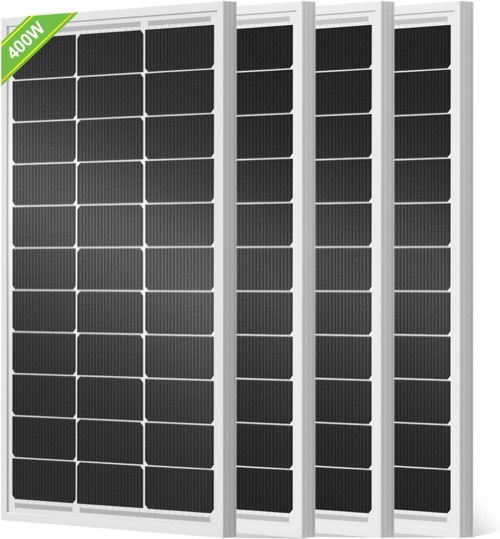
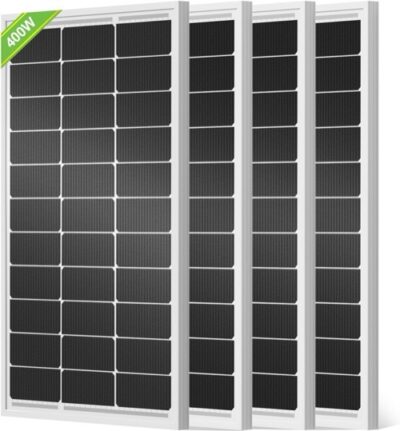
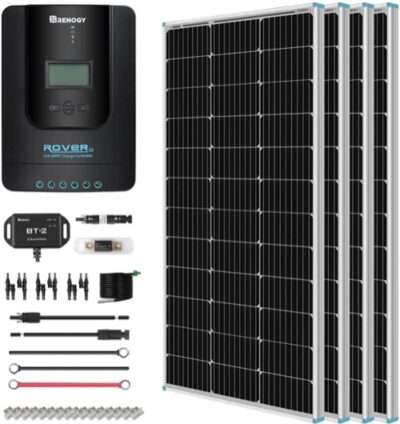
The best solar panels for RV use start with roof geometry, battery chemistry, and daily energy—not with a portable-panel popularity list. An RV system must survive wind, vibration, cable movement, water entry, and long periods of unattended charging.
Map the Installation Before Shopping
Choose a System Scale
| Scale | Typical role | Watch first |
|---|---|---|
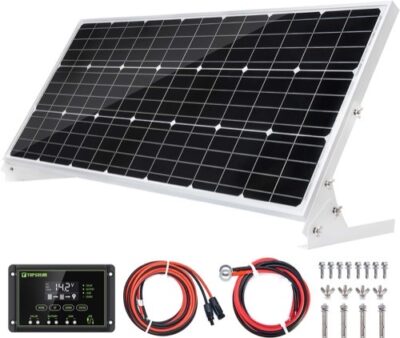
| 100W | Maintenance and light loads | Limited daily recovery |
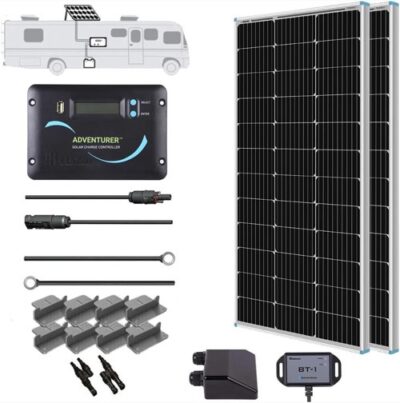
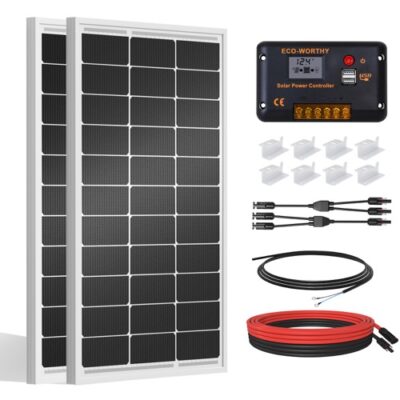
| 200W | Small RV essentials | Controller profile and expansion room |
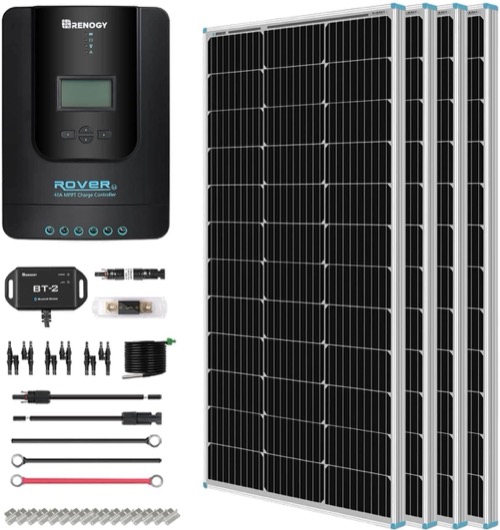
| 400W | Fridge, electronics, larger bank support | Roof layout, current, fusing, cable gauge |
Kit Convenience vs Component Control
- Shorter parts list
- Matched marketing package
- Verify every component revision
- Choose a stronger controller separately
- Tailor cable and protection
- Requires more design work
A bundled controller is not automatically suitable for LiFePO4 or future expansion. Read its exact manual, not only the kit description.
RV Installation Checklist
- Keep modules out of vent and air-conditioner shade.
- Use attachment methods approved for the roof structure.
- Provide strain relief, abrasion protection, drip management, and service loops.
- Fuse and disconnect conductors for the final array configuration.
- Reinspect mounts, sealant, and cables after the first trips.
Series, Parallel, and Partial Shade
Series raises voltage; parallel raises current. A roof with repeatable vent shadows may benefit from more parallel segmentation, but that increases current and branch-protection considerations. Do not mix unlike panels casually, and keep cold Voc below the controller ceiling.
Pick the Finished Circuit
Select the product card that matches your system scale, then price every missing disconnect, fuse, entry gland, bracket, cable, and battery-side component. If you cannot verify fault protection and structural attachment, involve a qualified RV solar installer.